Creating Your First LWC
Follow these step-by-step instructions to create your first Lightning Web Component.
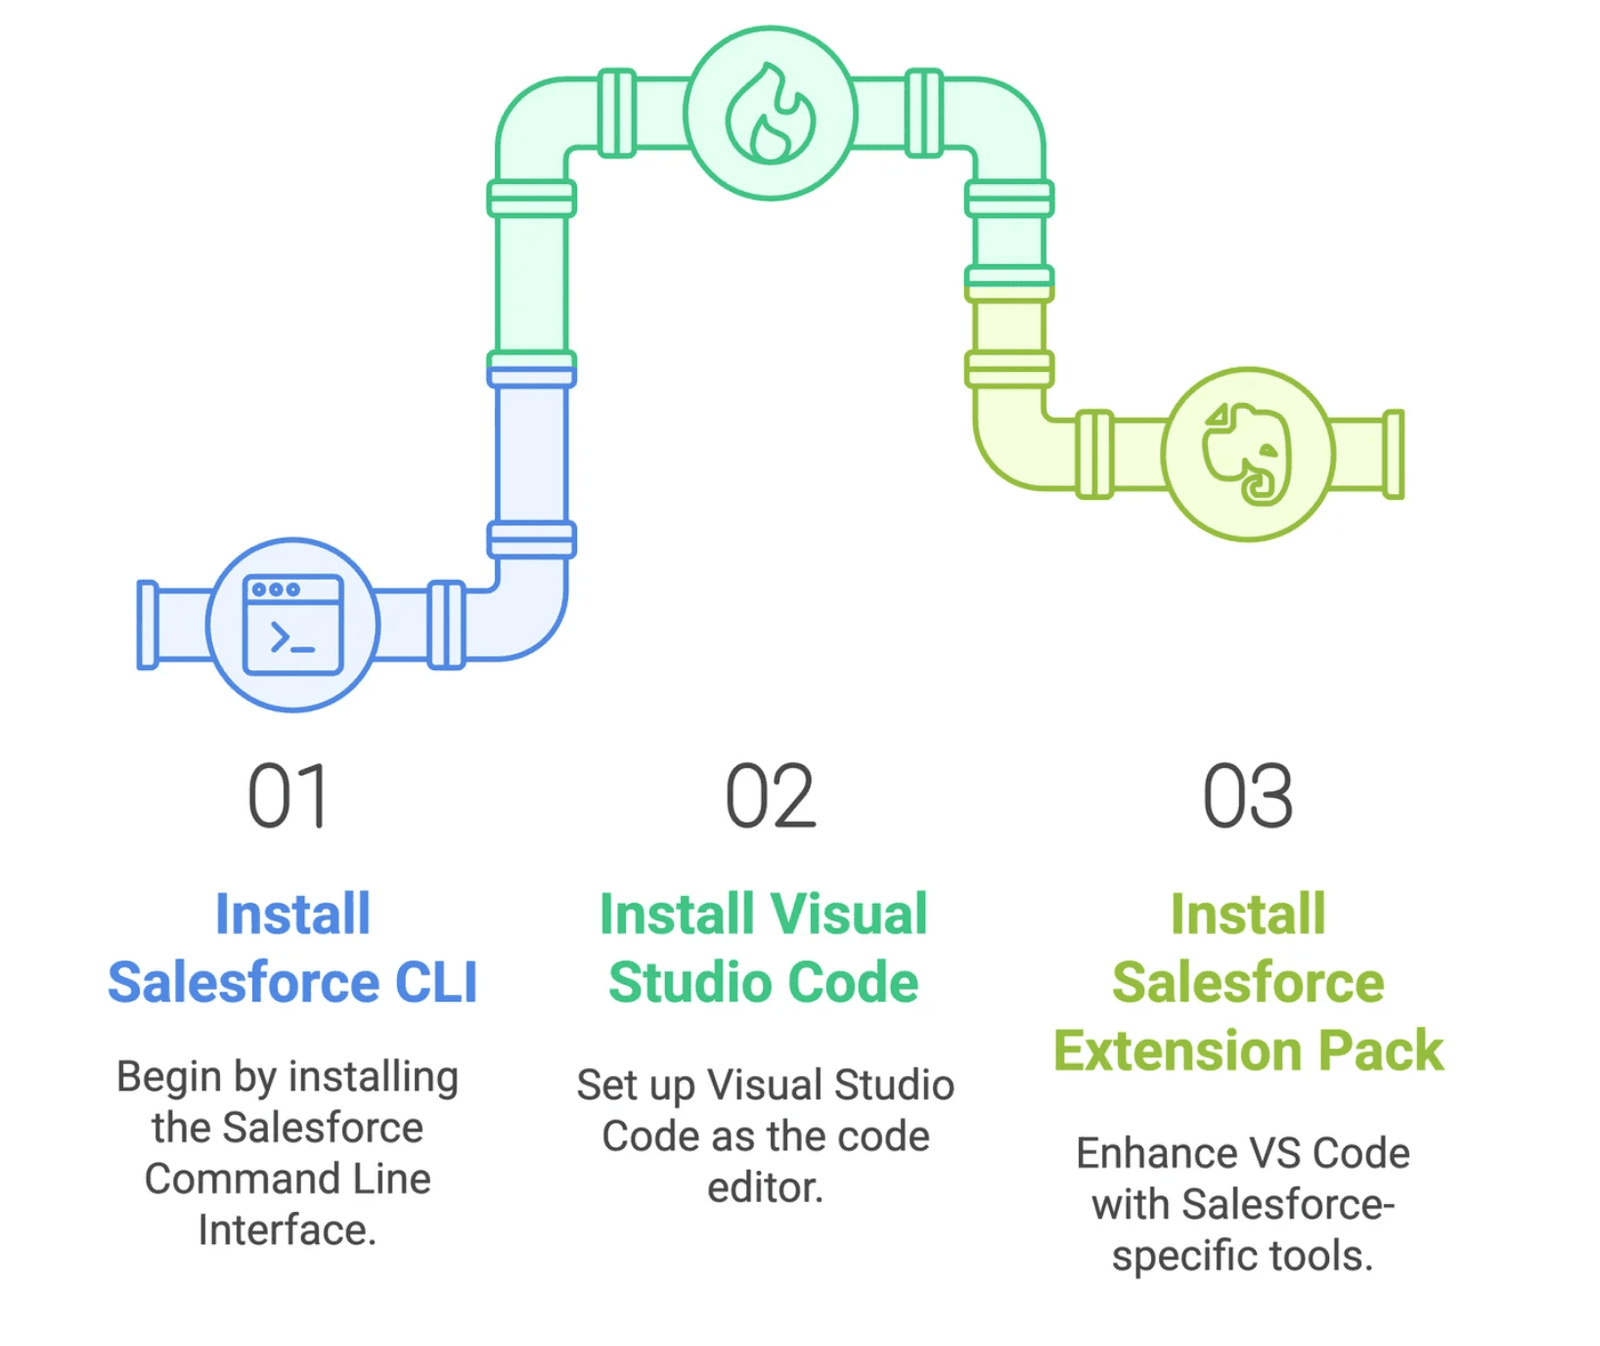
Step 1: Set Up Your Development Environment
- Install
Salesforce CLI. - Install
Visual Studio Code (VS Code). - Install the
Salesforce Extension Packin VS Code.
Make sure you have VS Code and Salesforce CLI installed.
Step 2: Create a Salesforce DX Project
- Open VS Code and create a new Salesforce DX project:
- Navigate to the project folder:
sfdx force:project:create -n MyFirstLWCProject
cd MyFirstLWCProject
Step 3: Create an LWC Component
- Use the Salesforce CLI to create a new LWC component:
-nspecifies the component name (myFirstComponent).-dspecifies the directory where the component should be created.- This will generate the following files:
myFirstComponent.htmlmyFirstComponent.jsmyFirstComponent.cssmyFirstComponent.js-meta.xml
sfdx force:lightning:component:create --type lwc -n myFirstComponent -d force-app/main/default/lwc
Step 4: Write Your Component Code
- Open
myFirstComponent.htmland add the following code: - Open
myFirstComponent.jsand add the following code:
<template>
  <lightning-card title="My First LWC">
    <div class="slds-m-around_medium">
      <h1>{message}</h1>
    </div>
  </lightning-card>
</template>
import { LightningElement } from 'lwc';

export default class MyFirstComponent extends LightningElement {
  message = "Hello, LWC!";
}
Step 5: Modify the XML File
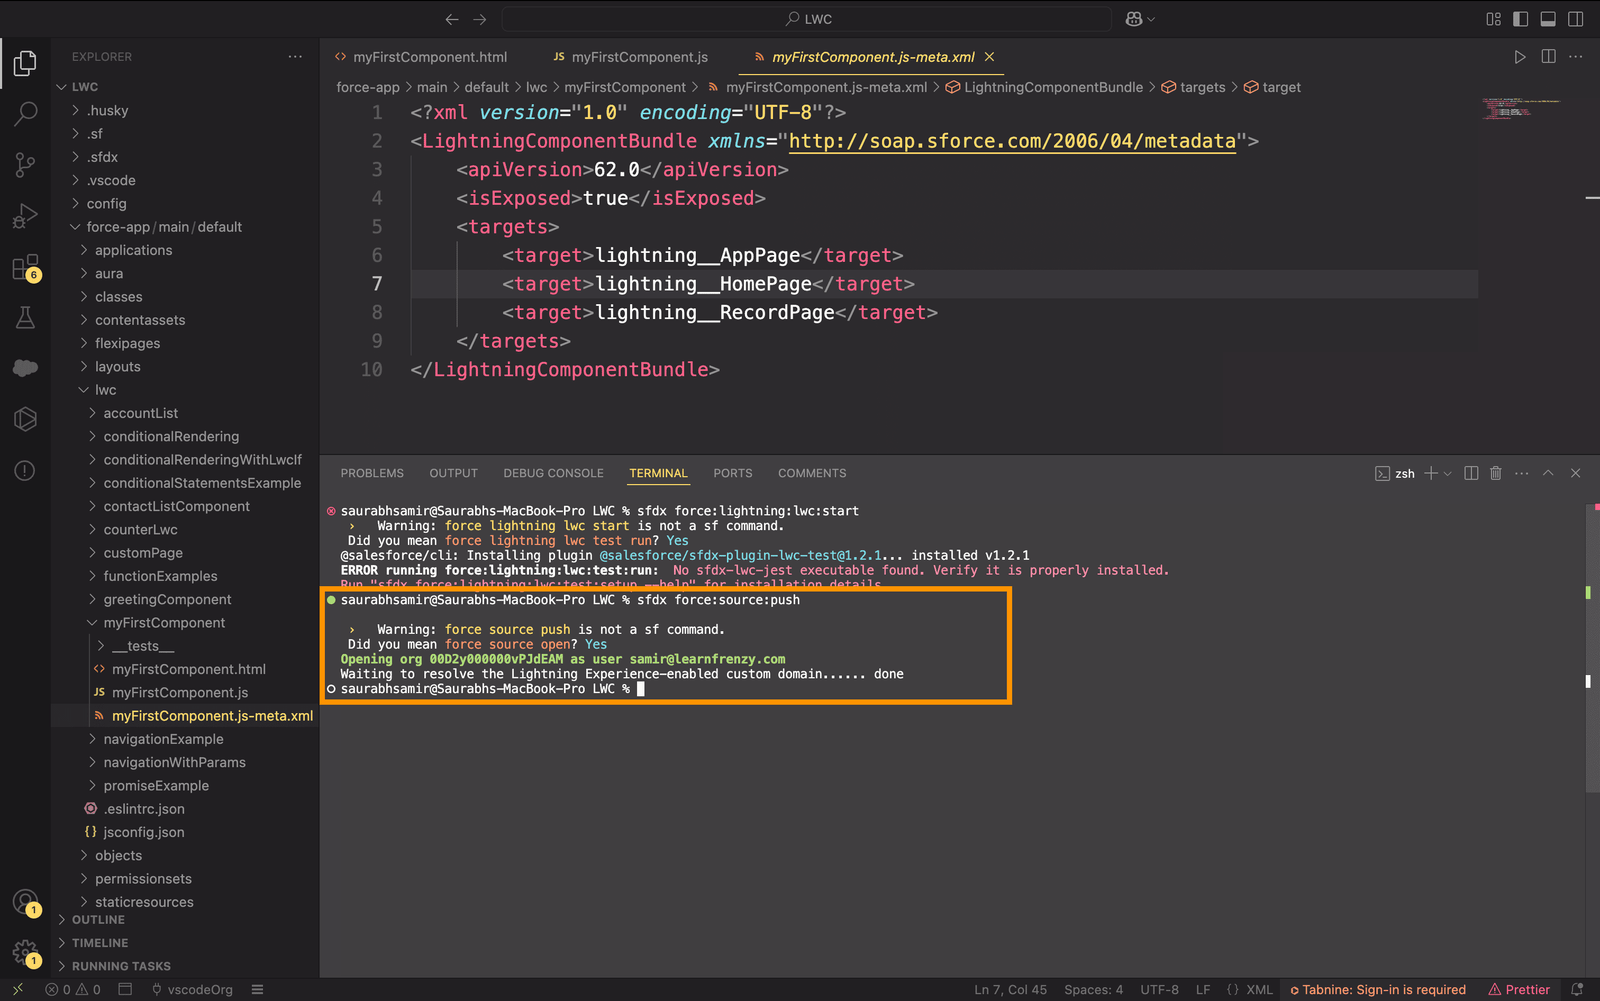
Ensure that myFirstComponent.js-meta.xml is exposed and available for Lightning Pages.
<?xml version="1.0" encoding="UTF-8"?>
<lightningcomponentbundle xmlns="http://soap.sforce.com/2006/04/metadata">
  <apiversion>62.0</apiversion>
  <isexposed>true</isexposed>
  <targets>
    <target>lightning__AppPage</target>
    <target>lightning__RecordPage</target>
    <target>lightning__HomePage</target>
  </targets>
</LightningComponentBundle>
Step 6: Deploy the Component to Salesforce
Run the following command to push your changes:
sfdx force:source:push
Congratulations! You have successfully created your first LWC. Now, let's deploy it in Salesforce.
Deploying LWC to Salesforce
Once you’ve created your LWC, you need to deploy it so that users can interact with it.
Step 1: Authorize Your Org
Authorize your Salesforce org using the Salesforce CLI:
sfdx auth:web:login
Step 2: Deploy Your Component
Deploy your LWC component to your Salesforce org:
sfdx force:source:deploy -p force-app/main/default/lwc/myFirstComponent
Step 3: Add Your Component to a Lightning Page
- Open your Salesforce org and navigate to Setup.
- Go to App Builder and create a new Lightning App Page.
- Drag and drop your
myFirstComponentonto the page. - Save and activate the page.
Step 4: Test Your Component
- Navigate to the Lightning App Page where you added your component.
- Verify that your component is displayed correctly.
Expected Output:
Now your LWC is visible on the page!
Debugging LWC
Debugging is essential for smooth LWC development. Here are the best practices:
1. Console Logging
- Use
console.log()to print messages to the browser console. - Example:
connectedCallback() {
  console.log('Component loaded');
}
2. Browser Developer Tools
- Open the browser’s developer tools (F12 or right-click ----> Inspect).
- Use the Elements tab to inspect the component’s HTML and CSS.
- Use the Console tab to view logs and errors.
3. Debugging in VS Code
- Set breakpoints in your JavaScript file.
- Use the Debugger for Chrome extension to debug your component.
4. Salesforce Chrome DevTools
- Install the Salesforce Chrome DevTools extension.
- Use it to inspect LWC components, view event logs, and analyze performance.
5. Error Handling
- Use
try-catchblocks to handle errors gracefully. - Example:
try {
  // Code that might throw an error
} catch (error) {
  console.error('Error:', error);
}
Summary
- The basic structure of an LWC and its core files.
- How to create your first LWC from scratch.
- How to deploy your LWC to Salesforce and add it to a Lightning page.
- How to debug your LWC using browser tools and VS Code.
With these foundational skills, you’re ready to start building powerful and dynamic Lightning Web Components for Salesforce. Happy coding!


